We’re about to tackle the subject of using the log4j version 2 software components from the Apache Software Foundation to log events in your Java projects. But first, a detour.
As you already know from when we added Apache Commons to your build and execution paths, it’s not at all uncommon to use third-party software. Sometimes this software requires numerous JARs, and will be used by multiple projects. Furthermore, third party software often comes with documentation and source code which your IDE can present to you to aid in the software’s use.
You could add the necessary third-party JARs, and point each to its documentation and source code, for each of your Java projects individually. But there’s a better way: creating user libraries in your IDE and adding the libraries to each project.
Here’s how we do it in Eclipse.
Adding a log4j2 Library to Your Workspace
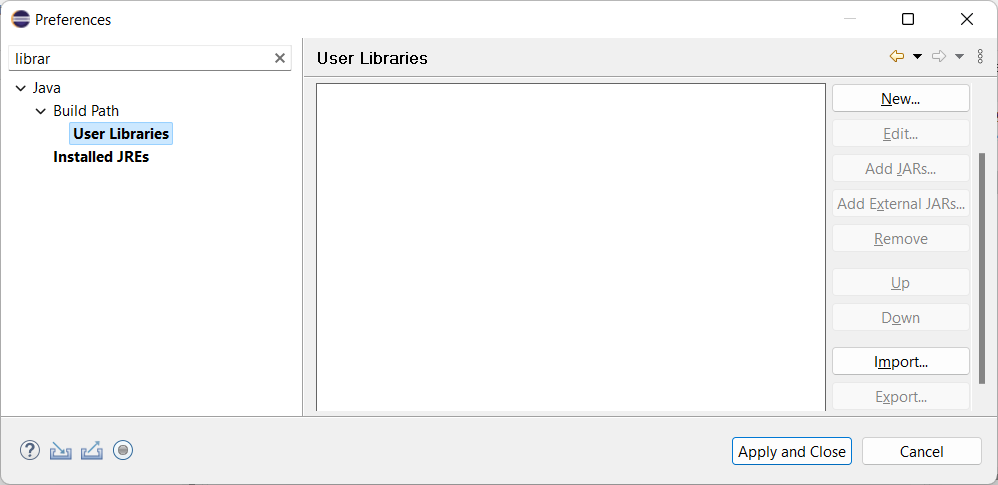
- Select the menu item, Window/Preferences. In the filtering box at the upper left, start typing “librar” so that the tree on the left is “pruned” so you can easily find User Libraries. Click on that.
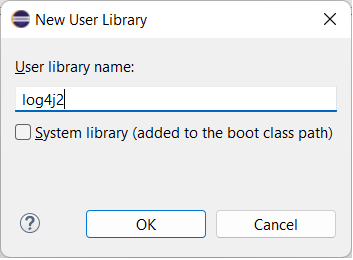
- Click on the New button. We’ll name our new library “log4j2”, so type that in the box and click Ok.
- Now we need to add JARs to our new library. Select its name in the User Libraries window and click Add JARs…. You’ll see a window showing the open projects in your workspace.
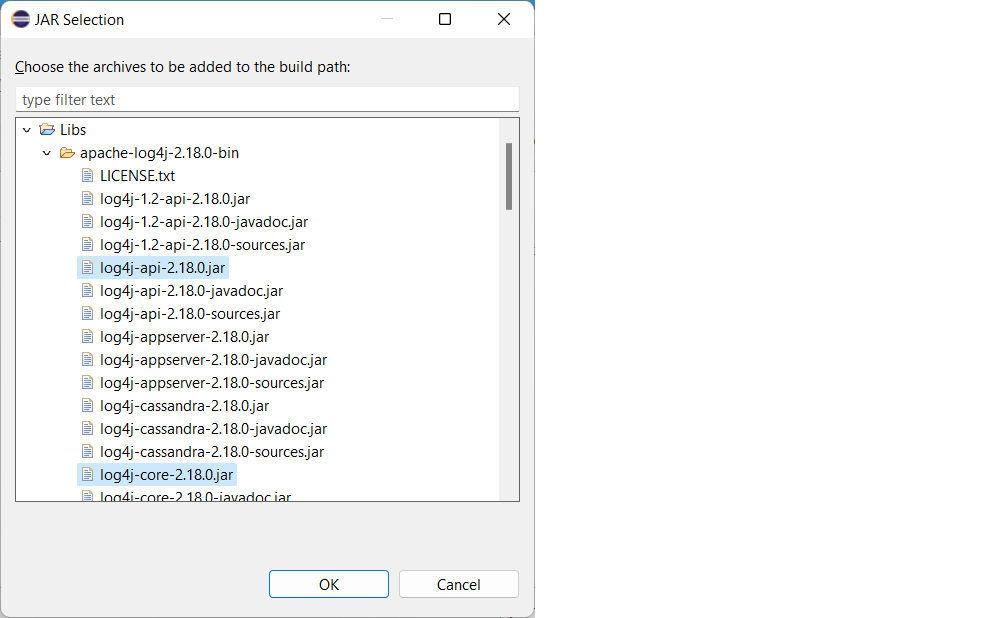
Expand the node for Libs/apache-log4j-2.18.0-bin and select these two JARs, which are the only ones you need, then click Ok.- log4j-api-2.18.0.jar
- log4j-core-2.18.0.jar
Now we want to add source code and Javadoc. Together, these let you see into the third-party source code, and view the explanatory text that often appears when you invoke code completion as you type or hover the mouse over an item.
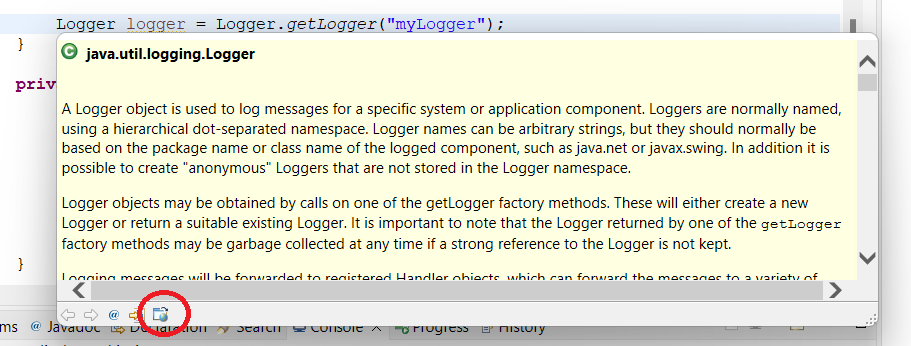
When a context-sensitive help window appears, you can make it persist by clicking on it. When you do, a number of icons appear at the bottom. Clicking the one circled below brings up the associated Javadoc in your web browser if it’s available.
Here’s the window you should be seeing now.
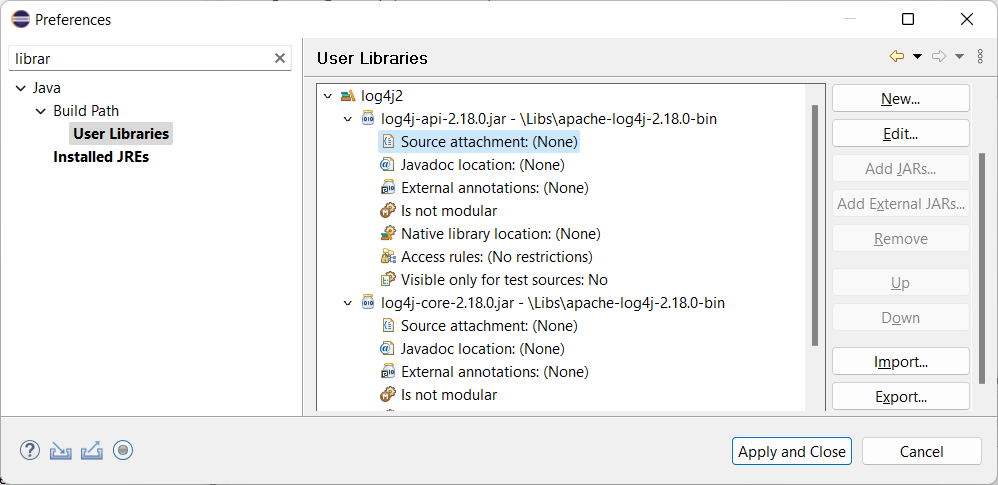
Click on Source attachment (None) and then click Edit (or double-click the former). You’ll see this (not filled in, of course):
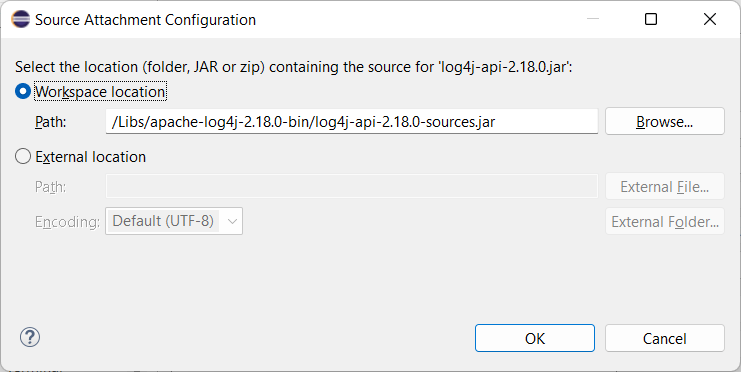
Making sure that Workspace location is selected, click on Browse. You’ll see the tree you did before. In this instance, click on log4j-1.2-api-2.18.0-sources.jar and click Ok. You’ll see the window above, this timewith the Path filled in as shown. Click Ok.
Now we’ll do the same for Javadoc. Double-click on Javadoc Location: (None) (or click on it and click Edit). This window appears (again, not filled in):
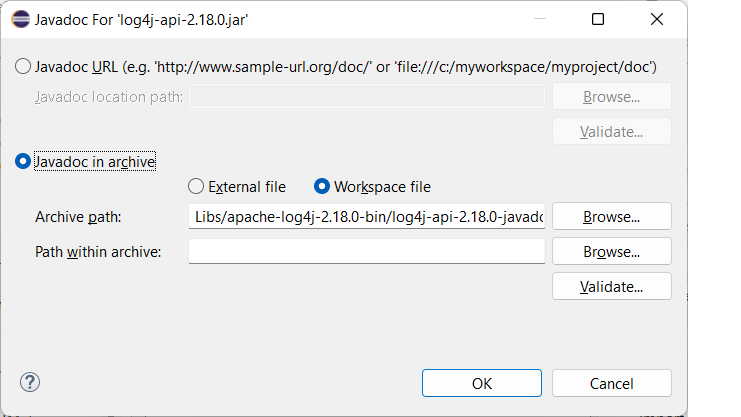
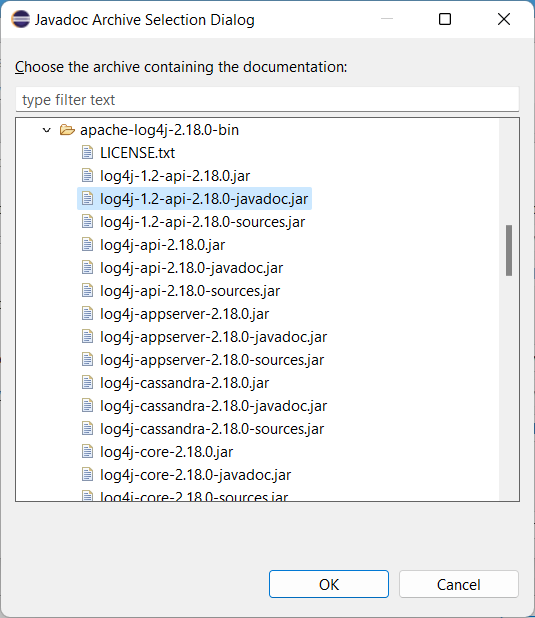
Make sure Javadoc in archive and Workspace file are selected, then click on Browse. This time, you’ll see a tree showing your entire workspace, even folders for closed projects. Navigate to the Libs project, expand folder apache-log4j-2.18.0-bin, select log4j-1.2-api-2.18.0-javadoc.jar, and click Ok.
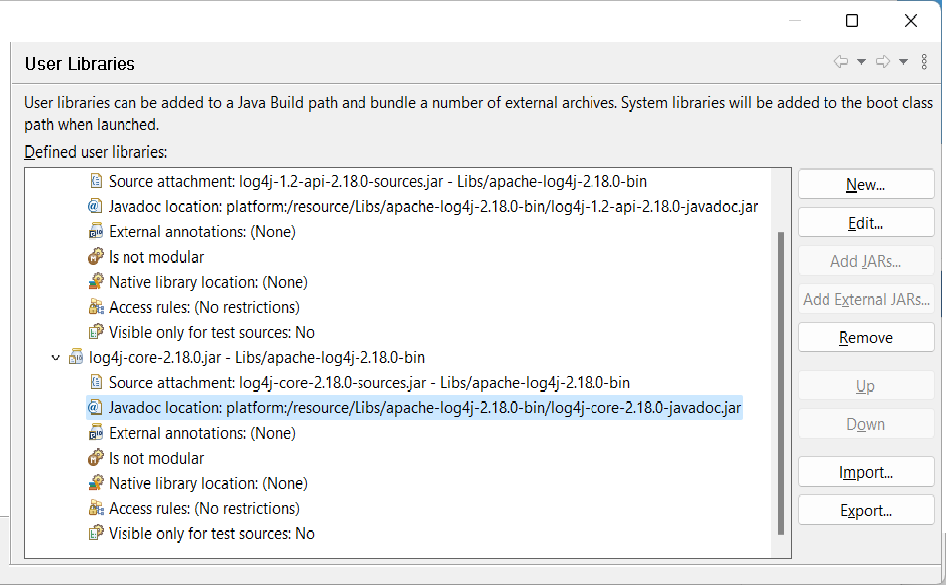
Then go through the same procedure for log4j-core-2.18.0.jar, and the User Libraries window now looks like this:
Click Apply and Close and you’re done!
What You Need to Know
- When you have a number of related JARs, it’s convenient to create a User Library for them and add the User Library to the build and/or execute class paths of your projects.
- You can attach source and Javadoc libraries to a JAR in your library to provide documentation as you type in the Java editor.
And now we’re ready for Logging With log4j Version 2