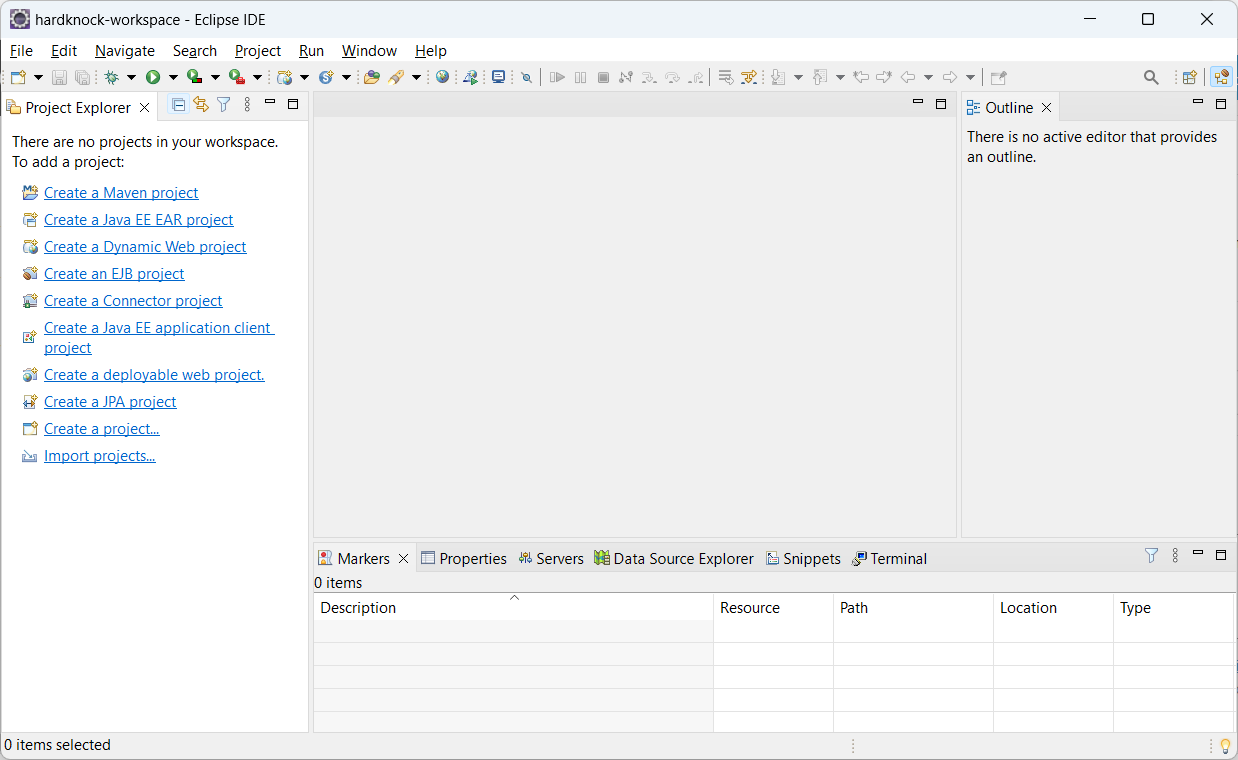
Here we are again at the Eclipse IDE main window. Now let’s create our first project. As is customary when learning a new computer language, we’ll start with a small program to display “Hello, world” on the console. (I believe there is a Federal statute demanding this, but don’t hold me to that.)
Step 1: Create the project in the IDE
Click on Create a project… in the IDE Package Explorer. From the wizard that pops up, click on Java Project and Next and you’ll see this window:

Type HelloWorld in the Project name box and click Finish. When asked if you want to Open the Java Perspective, click on Open Perspective.
Step 2: Create a package
Click on the HelloWorld leaf in the Package Explorer to expand it:

Right-click on the src leaf and select New/Package from the popup menu.

Type org.hardknockjava in the Name box and click Finish.
So what is a package? Nothing more nor less than a way of organizing the source modules of your project; the arrangement of compiled modules matches the arrangement of source modules. Each segment of the package name represents a directory in your file system. In this case, org is a directory and hardknockjava is a subdirectory. Typically you’ll group related modules into a given package.
Out in the wild, packages tend to have long names like
com.mycompany.myproject.database.tables.medical
(Typically, commercial users start their packages with “com” and nonprofits with “org”, but local standards will dictate how you name packages.)
Step 3: Define the HelloWorldClass class
Now right-click on the package name in the Package Explorer and select New/Class from the popup menu.

Type HelloWorldClass in the Name box. (We could have called it HelloWorld, just like the name of the project, but for purposes of illustration we’ll modify that.) Check the boxes marked public static void main(String[] args and Generate comments. Finally, click Finish.

Step 4: Add some code
You’re looking at a text editor with a skeleton of your first Java class. Notice that the name of the file you’re editing is “HelloWorldClass.java”. Java source files are named for the class they contain and end with the extension, “java”. The object files compiled from them are similarly named but with the extension “class”.
Now let’s add some code to see what Eclipse can do and to illustrate a few concepts in Java. Replace the contents of the editor with the code below and save the file:
/**
 * A comment can begin with "/*" and end with "*/" and span multiple
 * lines of code.
 */
package org.hardknockjava;

/**
 * @author You
 *
 */
public class HelloWorldClass {
private int myInteger = 1;
private int myInteger;  // A comment can also start with "//".
long myLong;
boolean maybe = true;
ArrayList myList;

	/**
	 * @param args
	 */
public static void main(String[] args) {
		HelloWorldClass helloWorld = new HelloWorldClass();
if (maybe) {
helloWorld.greet();
}
	}

	private void greet() {
		System.out.println("Hello world!");
	}
}
And here’s what you’ll get.

It’s a mess, isn’t it? Click here to go to the next page and we’ll clean this up!
